Texturing Notes
Summary notes from JR on a texturing session.
Working with some loose objects that will someday be joined to a single object for SL.
These notes are tentative. Proceed with caution: the process is something like what is described here. See also the longer NS article. I’ll improve these notes next time I do this.
The object worked on, like some others, already has two elementary materials defined, named “Metal” and “Sponge”. The object has seams between the two materials and is a deformed thickened cylinder. Here is the result of the work summarized here:
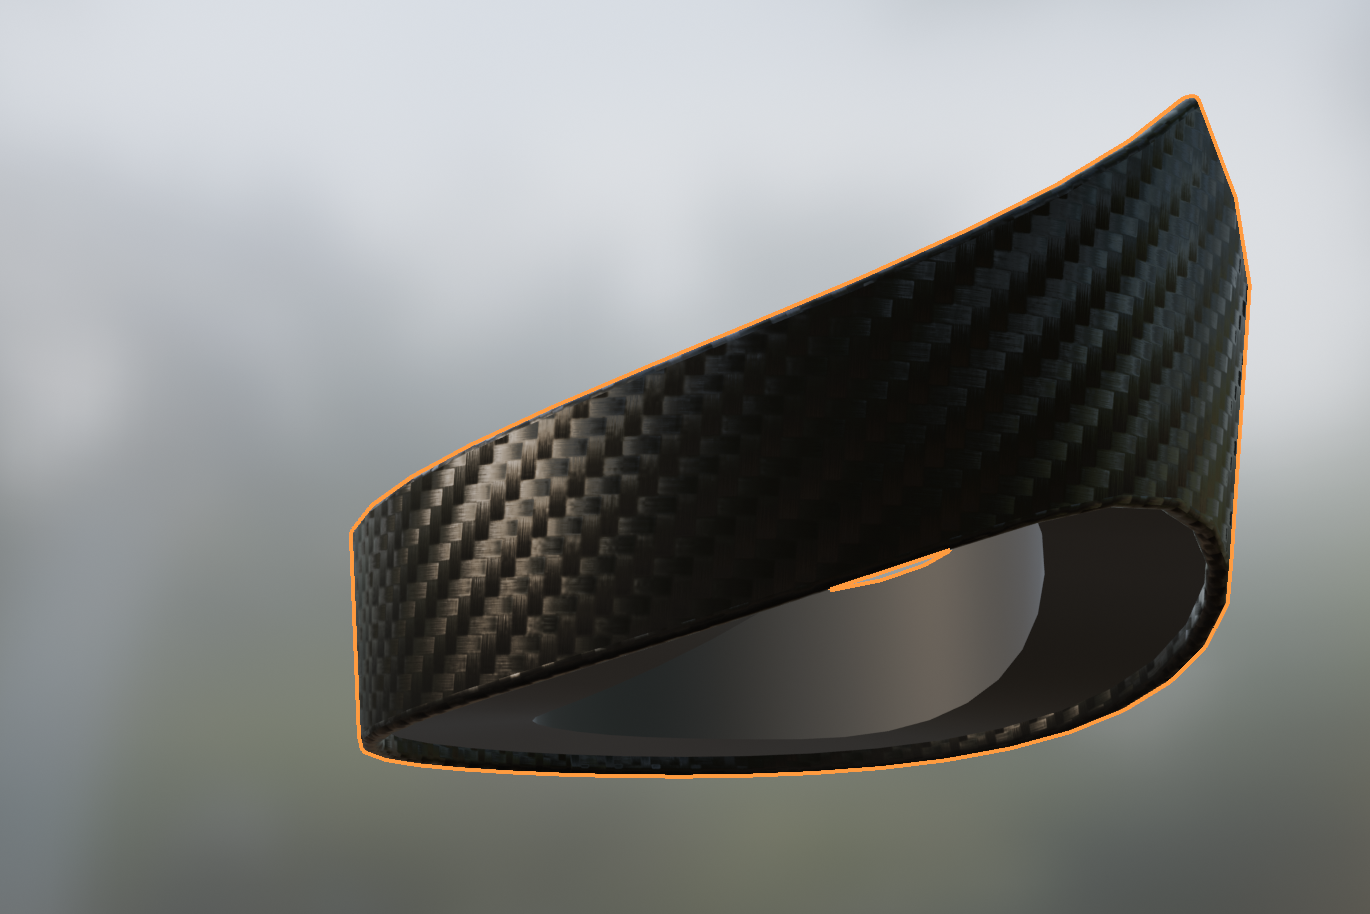
You can see the carbon fiber on the outside and part of the inside, and the dark gray other material called “Sponge”.
Here, cleaned up, is what needed to be done to get that texturing:
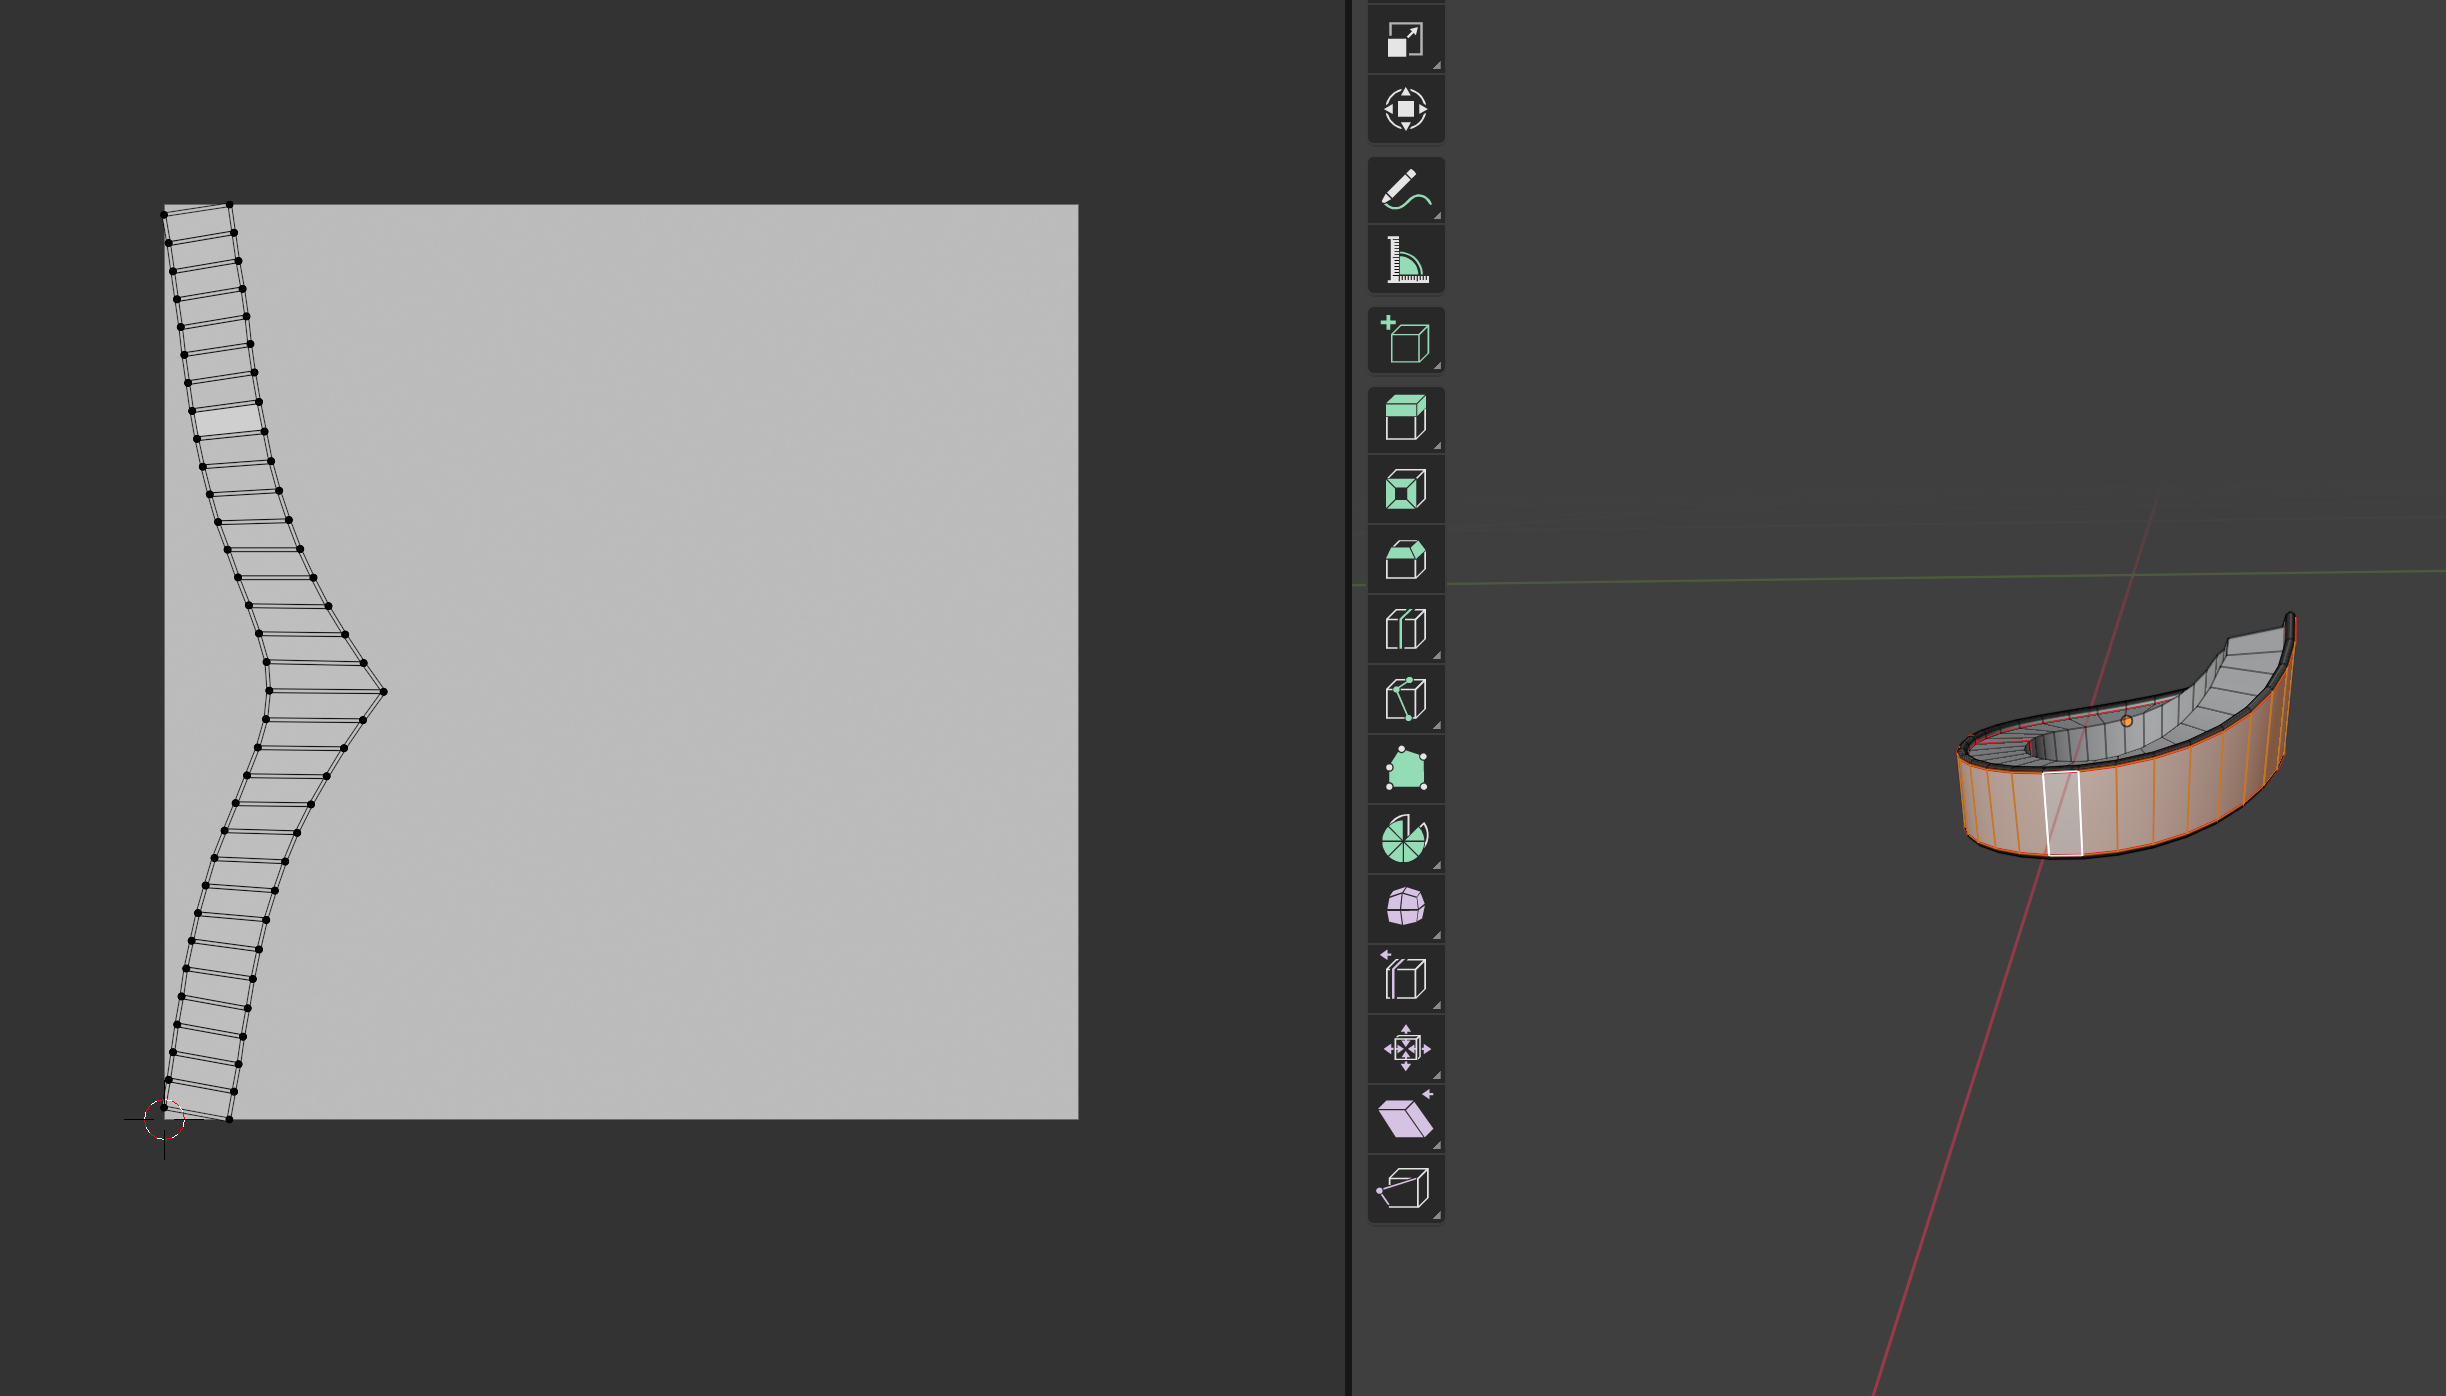
- Add seams to the band, around the top edge ring before the beveling and the bottom edge right before beveling. This allows the unwrap function to produce a decent unwrap for the outward-facing surface, the only part that really matters.
-
Create a cube, and drag candidate materials onto it (e.g. from BlenderKit). We do this because a mistake with a real object could texture it in an unattractive way, or otherwise mess things up.
-
When we get a material we like, and with the object’s UV unwrapped, in edit mode, select all the material’s faces. One way to do this is to select one face of the material and then select similar material under the select menu.
-
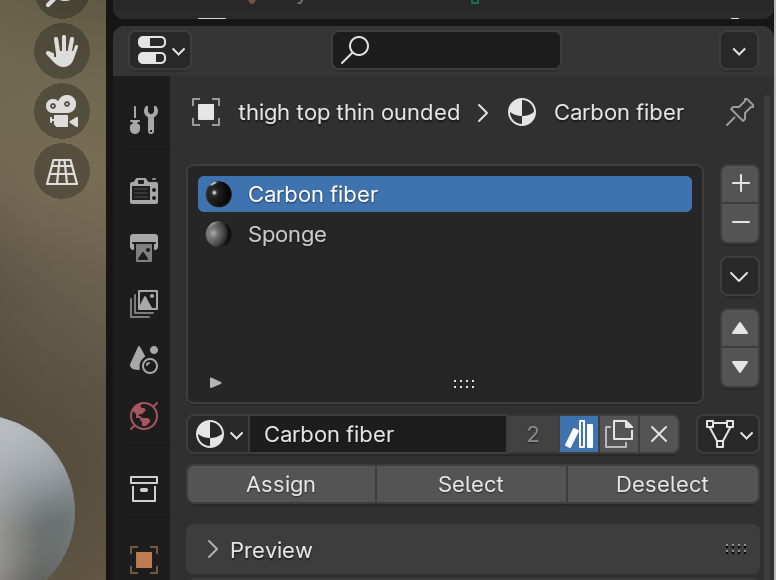
In the info panels on the right, select the materials one (looks like a map) and then use the pulldown to find your new texture and press assign. The result is as shown here:
- With luck, that’s all there is to it. If you do not like the result, the issue is probably in the UV unwrap.
I’ll improve this the next time I do this task.